
VOM meter basics
VOM/DVM
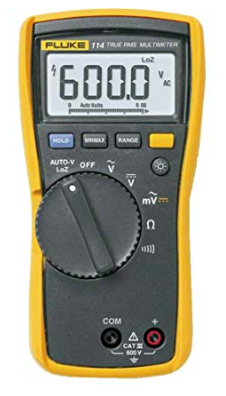
Fluke 114:
Fluke 101:
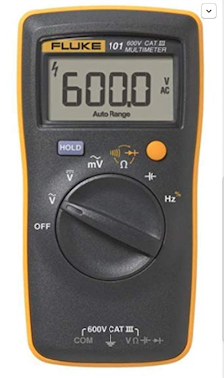
- V~ means AC voltage
- V-- means DC voltage (red +, black -)
- mV means millivolts (caution with this one)
- Ω means ohms
- ||| means sound for continuity (114)
- -||- means capacitor check (101)
- Hz means frequency (101)
Part one: record your results and email along with diagrams and photos of your work
- test DC voltage with different batteries
- how can larger batteries have the same voltage?
- test AC voltage (V) at several outlets
- test V also between each AC side and ground
- which side of the outlet is “hot”? what color is this behind the wall? (look this up)
- test continuity with the sound tester on metals and plastic
- what makes good conductors/insulators?
- test Ω across your body
- why does this change?
- measure mV across your body, why does this change?
- test various electrical devices for resistance: lightbulbs, hot water heaters, appliances (across the cord)
- determine the voltage of at least three AC and three DC sources, with explanation of each (solar panel, plugs, power supplies)
- if available, test the voltage of the 12V battery in a non-EV car
- start the engine, what does this tell you?
- turn on the headlights, what happens?
Arduino parts part: Each kit should have these. Count them out into a new bin for your next kit:
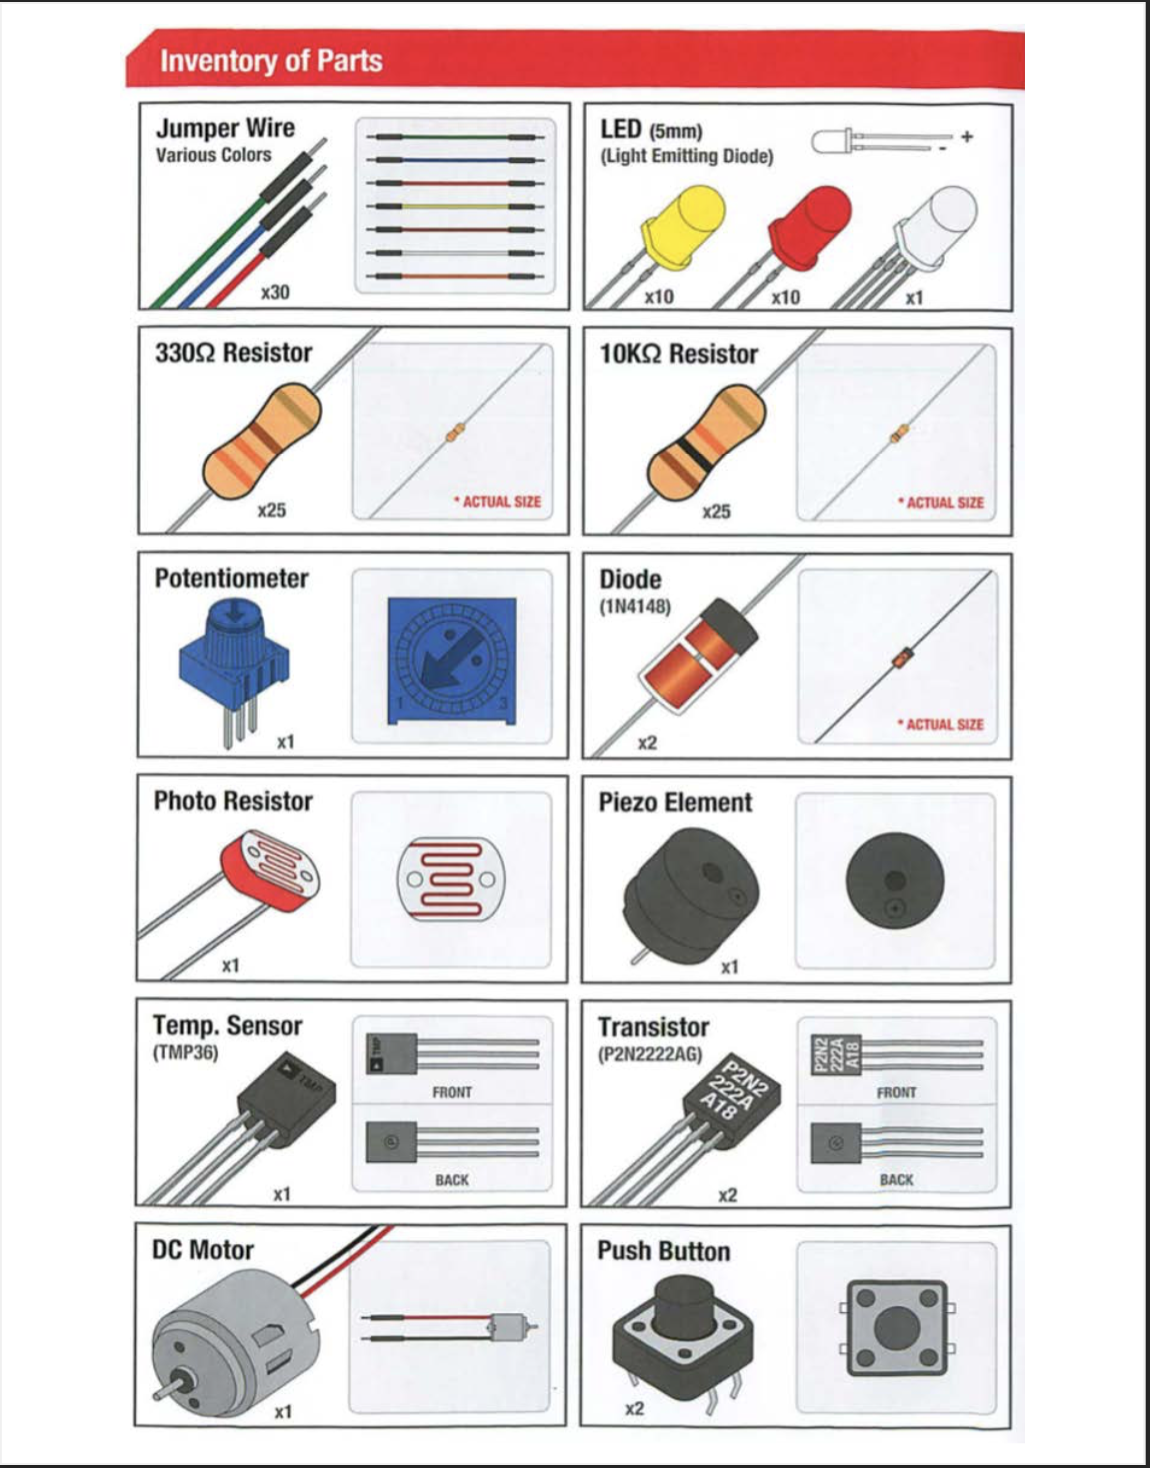
Unmigrated media: arduino parts.pdf (application/pdf, 102.9 KB)
- test jumper wires for continuity, and count them out into a new bin
- test the resistance of an LED forwards and backwards. Why?
- confirm the resistance of both resistors
- Don’t test the diode it will burn out
- measure the resistance of the potentiometer (volume control) while moving the knob. It has three wires, measure across and from the middle to the ends
- measure the resistance of the photoresistor in dark and light-explain
- look up what a piezo element is, and what it does, then find a way to test it
- skip the temp sensor and the transistor, you could burn them out with the meters
- check the motor for both resistance and voltage (only when you spin it)
- diagnose which terminals on the pushbutton switch do what
- leave the servo, relay and integrated circuit for later
Full Arduino manual next:
Unmigrated media: arduino.pdf (application/pdf, 6.4 MB)
Migrated from Apple Server Wiki. Original page ID: e2B9d9w